Last modified by: The Includables -
Using Filters in Daily Approval
By changing the filters in Daily Approval, you can set the focus on which shifts are displayed, making finding and editing shifts quicker and easier.
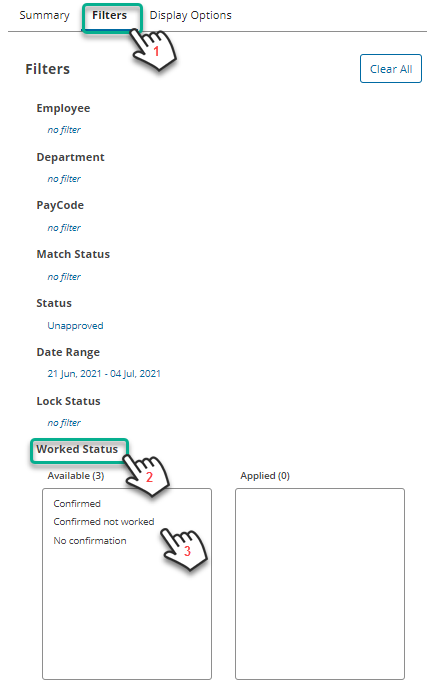
- Click Filters on the left panel
- Click on the title of the filter you want to set, for example Worked Status.
- Click the filter items you want to apply.
The shift records on the right will automatically update based on the filters chosen.
Types of Filters
- Employee - Use to show only selected
employees. - Department - Use to show only select
departments. - Paycode – use to show only certain hours,
for example overtime. - Match Status – options include:
Matches Schedule, Needs Review,
Manual Entry - Status – options include:
Approved, Unapproved, or Deleted - Date Range - Use to show only selected
days. Days available to filter are only those
in the scheduled pay period. The Date
Range filter is by default set to the first day
of the pay period. - Lock Status – options include:
Locked, Unlocked (no filter will show both) - Worked Status - used to show shifts based on worked status confirmation from the employee. Options include:
- Confirmed - employee used Time Entry to confirm they worked the shift
- Confirmed Not Worked - employee used Time Entry to confirm that they did not work
- No Confirmation - no related Time Entry, web punch, or clock punch for this shift
